Wednesday, March 29, 2017

Easter Egg Ornaments


Hi! Easter is coming soon!


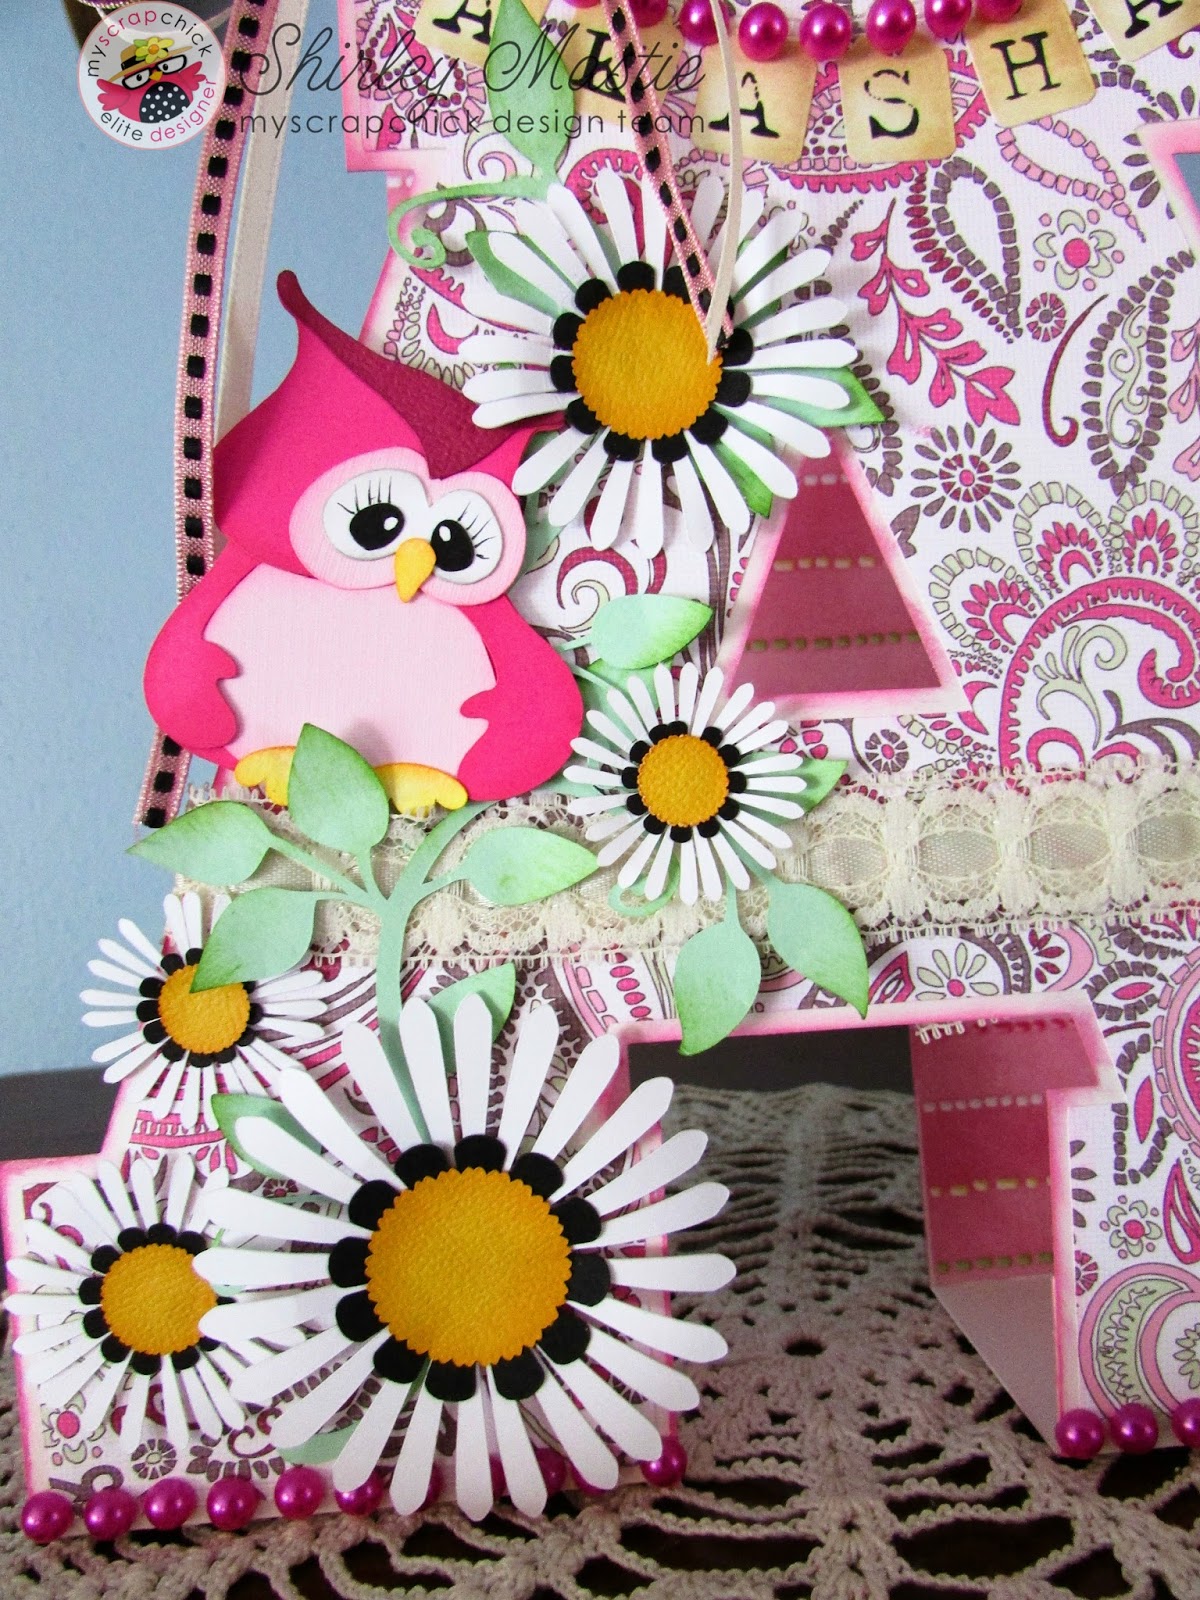
Today I am sharing some Easter ornaments I made using a card design from My Scrap Chick. I used Easter Card With Scallop Layers for the ornament base. I also used Leaf Designs for accents around my flowers.


Leaf Designs: click to enlargeEgg Card with Scallop Layers: click to enlarge


MATERIALS
Five coordinating papers for each card
Silk and/or paper flowers
Tiny bird embellishments
Tiny butterfly
Lace 
ribbons and/or twine
Small Flowers
Large eyelets (optional)
 Embossing folder from Cuttlebug
Glue dots, adhesive


 Duplicate and flip the layers horizontally. After you cut out the pieces, emboss each side of the card separately as shown. Glue the two sides of the card together, then add the other layers, then the flowers, lace and bows.


Then turn it over and do the same thing on the other side.


Here is a closer look at the peach colored egg.


This was a super fun little project. I'm going to hang mine in a window, but if you prefer, you can do just one side and use it as the card it was intended to be. If you liked my project please leave a comment.

Have a great day! 

Shirley

Wednesday, March 22, 2017

Easter Milk Carton Caddy


Since Easter will be here before we know it, I have been getting ready by making a cute caddy that will hold four milk cartons filled with Easter goodies.


My Scrap Chick Files Used

#10 from Caddy Essentials


Other Materials Used

Embossed Brights by Craft Smith
Chick Glitter Cardstock by DCWV
Light Pink Small Dots by Coredinations
Light Green Small Dots by Coredinations
Light Pink Stripe by Coredinations
Baby Girl Double Sided Cardstock by Cloud 9 Design
Other Cardstock by Recollections
4 one inch green paper flowers
4 one inch pink paper flowers
3/8 inch yellow floral ribbon by Reel Ribbon
"Happy Easter" stamp from Stampin Up
Tape runner, glue and foam tape

Keeping all the caddy pieces grouped together, I made two caddys, each at 11.75 inches high, using the Embossed Brights. They were attached together using glue and tape runner, paper clipping them together while they dried. I made the mat by the handle by duplicating the base then using the slice feature on my Explore to get just the back piece. I made two of these pieces and four side mats from the Chick Glitter Cardstock. The side mats were attached 3/8 inch up from the bottom. Tape runner was put on the back of the ribbon and it was wrapped around the bottom of the caddy, and the ends were glued in place.


I made two pink dotted milk cartons and two green milk cartons each sized at 10.5 inches wide.(Make sure to keep all pieces grouped together.) The striped papers were added around the tops. After the cartons were filled, I stapled the tops closed and hid the staple with a flower, attached with glue dots, on each side.

The circle tags are 1 3/4 inches in diameter. They are stamped with a Happy Easter stamp from Stampin Up. The little chick on the tag is 1 3/4 inches tall. The chicks on the caddy are about 2 1/4 inch tall by 3 1/2 inches wide. The heads of all the chicks were attached with foam tape to give dimension. The finished paper piecings were also attached to the cartons and caddy with foam tape.

The finished caddy is 5 1/2 inches square and 5 3/4 inches tall. Each milk carton is 2 1/2 inches square by 5 inches tall. The caddy is super strong and easily holds the four milk cartons filled with candy.

I love how this project turned out. My son's family has four members so I think they will be getting this sweet caddy for Easter. (If I don't break into the candy first.) Give this project a try; it was so easy and fun! Please leave a comment; I'd love to know what you think. Happy Crafting! 

Wednesday, March 15, 2017

Carrot Love Easel Card


Before we know it Easter will be here, so I thought I'd make a Easter Easel card for my "Anything Goes" project for Digital Delights by Louby Loo.


I used Easter Egg Easel Card  Cut File for the card base 

and images from Carrot Love Set .


Card Recipe

All DD Stamps Used: Carrot Love Set

Cardstock and Papers: Images printed on Spectrum Noir Cardstock by Crafter's Companion, printed cardstock from DCWV, lavender cardstock from Recollections

Markers Used: Spectrum Noir Alcohol Markers

Acc./ Embellishments: White pearls in two sizes, 3/4 inch wide lace and ribbon trim, 1 inch purple ribbon, 3/4 inch purple paper flowers and green leaves, adhesive and foam tape

Special Technique: Using the Easter Egg Easel Card file, make the card so it sits 6 inches high. The main scalloped circle is 4 1/2 inches.

The Easter Egg image is 3 3/4 inches tall, the bunny is 3 inches, the border is about 1 by 4 1/8 inches. The sentiment is 1 by 1 3/4 inches. I adjusted the mat behind it to fit.

The trims were added as shown, then the pearls were added. The images were added with foam tape to give the card dimension. Last, I added the purple flowers and leaves. 


Color Palette

Bunny: IG 1, 2, 4, blender
Inner Ear /Cheeks: CR 1, 2
Carrots: BO 1, 2, 3, BG 2, 3
Leaves: DG 1, 2
Flowers: PL 1, 3
Egg: PL 1, 3, CT 2, 4

I hope you liked my little card! I'd love to hear from you.


Sunday, March 5, 2017

Pretty Initials


HI! I have two beautiful granddaughters who are as different as day is to night, but one thing they agree on is they both love the color pink. I decided to make each girl a decorative initial that portrayed their individual personalities.


I used the 3 D Alphabet Pop Up Letters  and a 24 inch mat and my Cricut Explore to make my 8 inch letters, but you could use the new Big 3 D Pop Up Letters instead.


3D Alphabet Pop Up Letters : click to enlarge   Big 3D Pop Up Letter FULL SET: click to enlarge

My youngest granddaughter loves her bling and is a huge kitty lover. I used a number of MSC files for her letter.


MATERIALS 

Cat's Life by MSC
Leaf Designs By MSC
"Khloe Lane Paisley" paper by The Paper Studio
Yellow, light pink, pink, green and white cardstock by Recollections
Pink striped paper (source unknown)
white tagboard
1 inch metal hanging letters
light pink ribbon
2 inch white lace
pink crystal bling
large yellow bling sticker for the flower
adhesive, glue dots and foam tape

I used a 12 by 24 inch piece of tagboard to make my letter base so the letter would be about 8 inches tall. You could use the Big 3 D Pop Up Letters instead. The Khloe Lan Paisley was used for the outside of the letter and the pink striped paper was used for the inside.

I added the 2 inch white lace to the left side and on the bottom of the right leg of the "K", then added a string of pink crystals to the center of each. I used the same crystals to make a swirl at the upper right.


The metal letters were strung onto the 1/4 inch wide pink ribbon and strung across the letter. a 3 1/2 inch hanging kitty was added to the ribbon. A 2 inch nesting flower and leaf sprigs were added to the bottom right.


   My eldest granddaughter is a big owl fan so I added an owl scene to her initial.

                  
Materials

Flower Combo by MSC
Leaf Designs By MSC
Night Owls by MSC
white tagboard
"Pink Paisley" paper by Recollections
Pink striped paper (source unknown)
Light pink, bright pink, dark pink, white, black, yellow, light green cardstock by Recollections
1/2 inch wide ivory, lace and ribbon trim
dark pink pearl trim
1/4 inch wide ivory and pink/black ribbon
Small alphabet tag stickers from "Nostalgiques" by Rebecca Sower


The "A" was also made from tagboard at about 8 inches. The paisley print was used on the outside and the stripe was used on the inside.

A strip of the ivory, lace and ribbon trim was added across the middle bar. The alphabet letters for her name were added in a curve across the top, and dark pink pearls were added above the letters following the same curve. The pearls were also added to the bottom of each leg of the "A."

I made five daisies ranging in size from 3/4 inch to 2 inches and added them to the left side, along with two leaf sprigs. A 2 1/2 inch owl was added among the flowers.

As a final touch a bow was made from the ivory and pink/black ribbons and added to the top left corner of the "A."

I hope you liked my letter decorations. They were super easy and fun to make. Please leave a comment and let me know what you think. 

Have a great day! ~Shirley

Wednesday, March 1, 2017

Darla Duck Dutch Gate Card


Today is New Release Day at Digital Delights at Louby Loo and I am sharing a Dutch Gate Card using "Darla Duck Set" and "Splashes of Spring Papers."


Card Recipe

All DD Stamps Used: Darla Duck Set

Cardstock and Papers: "Splashes of Spring Papers" from Digital Delights, "Modern Millinary Signature Paper" by COLORBOK, cardstock by Recollections, dotted paper from stash

Markers Used: Spectrum Noir Alcohol Markers

Acc./ Embelishments: 1/4 inch pink dotted ribbon

Special Technique:

I created the card base in Design Space.
Here is the Design Space file link. 
https://us.cricut.com/design/#/canvas/52496965


COLOR PALETTE

Duck: CT 2, 4
Beak: OR 1, 2, 3, CR 10
Pinks: MG 1, 2
Greens: DG 1, 2

I hope you like my little card. If so, or if you have a question, I'd love to hear from you. Have a great day!